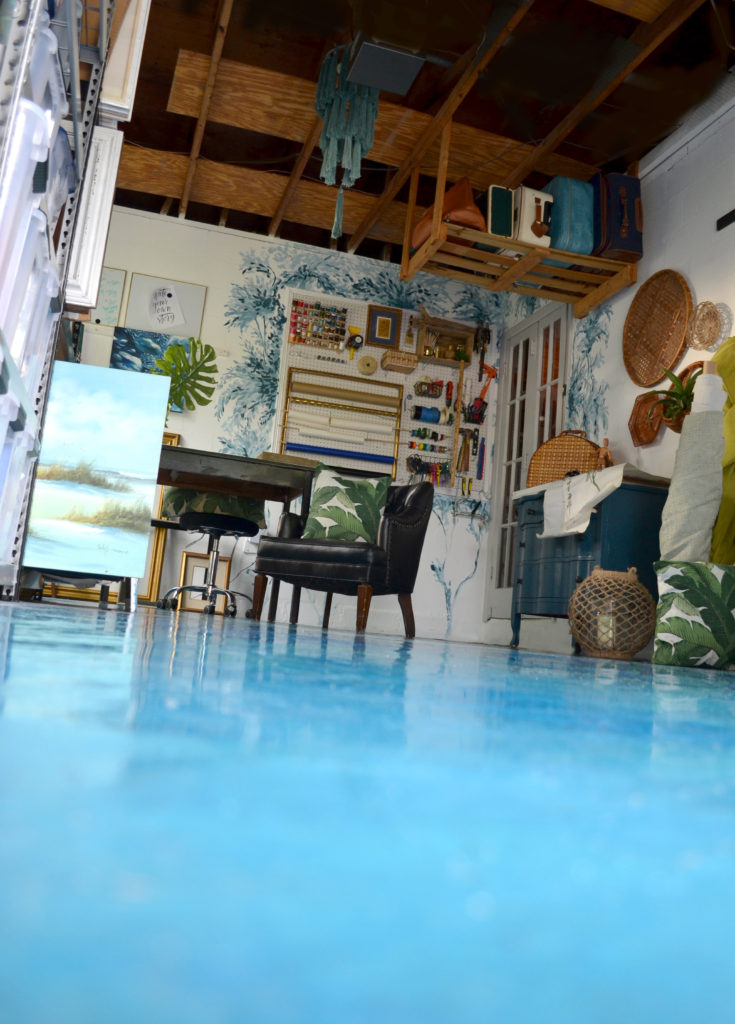
After looking through a ton of lighting ideas, and trying to source something similar to what was in my head, I decided on making my own “lighting”. Again, this is used in my studio garage space that we did for the One Room Challenge, and I didn’t want the hassle of having to re-wire anything because this switch is also used for the garage door opener, I had to work with the pendant style rather than just get something entirely new. So I came up with this no hassle, tassel, lighting!
Please keep in mind, this project didn’t cost me anything as I already had the materials on hand, but even if you don’t, the dye, string, & embroidery hoops are a few dollars a piece, so the cost isn’t that much for this. Making all of the tassels will take some time but its worth it in the end!
Materials;
Different size embroidery hoops, dye, cotton twine, scissors, picture hanging wire, and a book in whatever size tassel you choose to make. I wanted larger tassels so I went with about an 11″ book. ![]()
Steps;
First, wrapped the twine around the book several times (I did it probably about 50 times) depending on how thick you want your tassel. 
Next, slide an additional string along the top and create a knot so the twine stays in place. Cut the strings along the bottom of the book, making sure your scissors are centered. Secure your knot at the top, making sure it is nice and tight. you will use this to tie your tassel to whatever you are using it for. 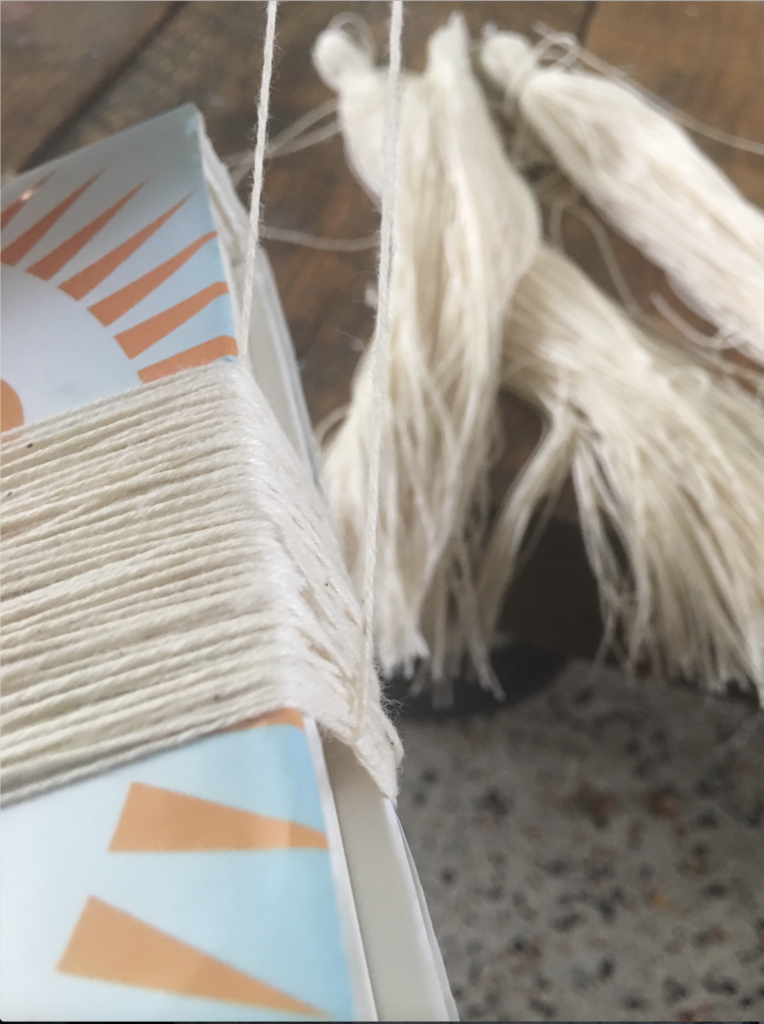
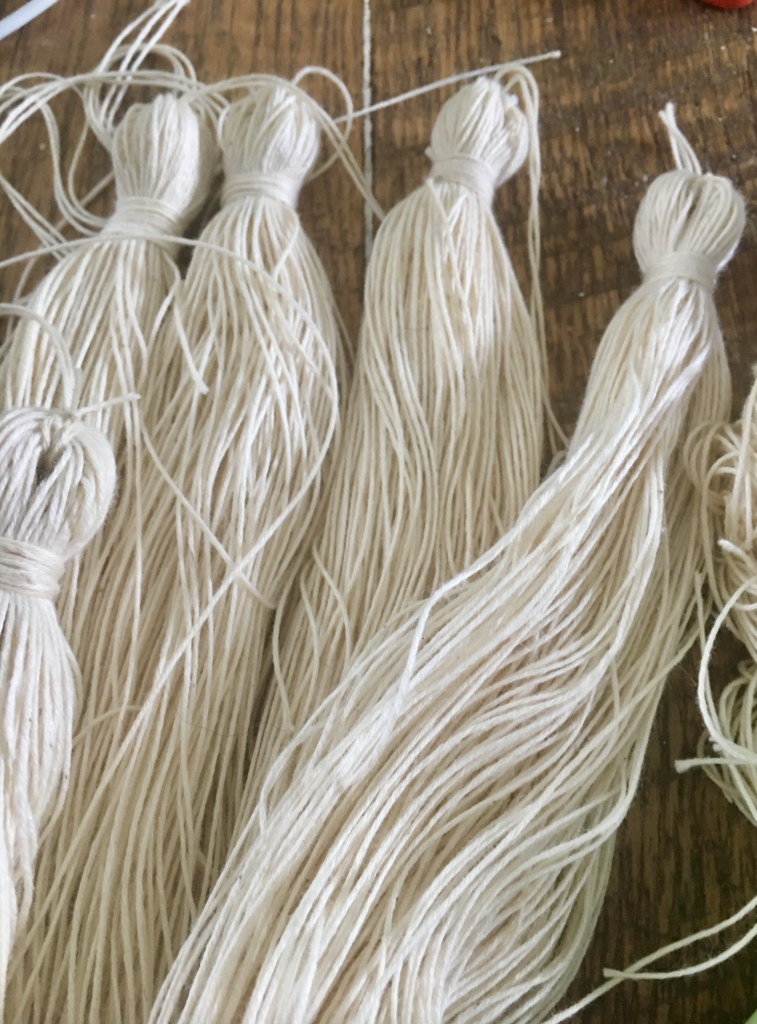
Third, create a loop and then begin to wrap twine about a half an inch down from your knot. When you get to your desired length, place the end of your string in the loop and pull, this will hide the knot from being visible. 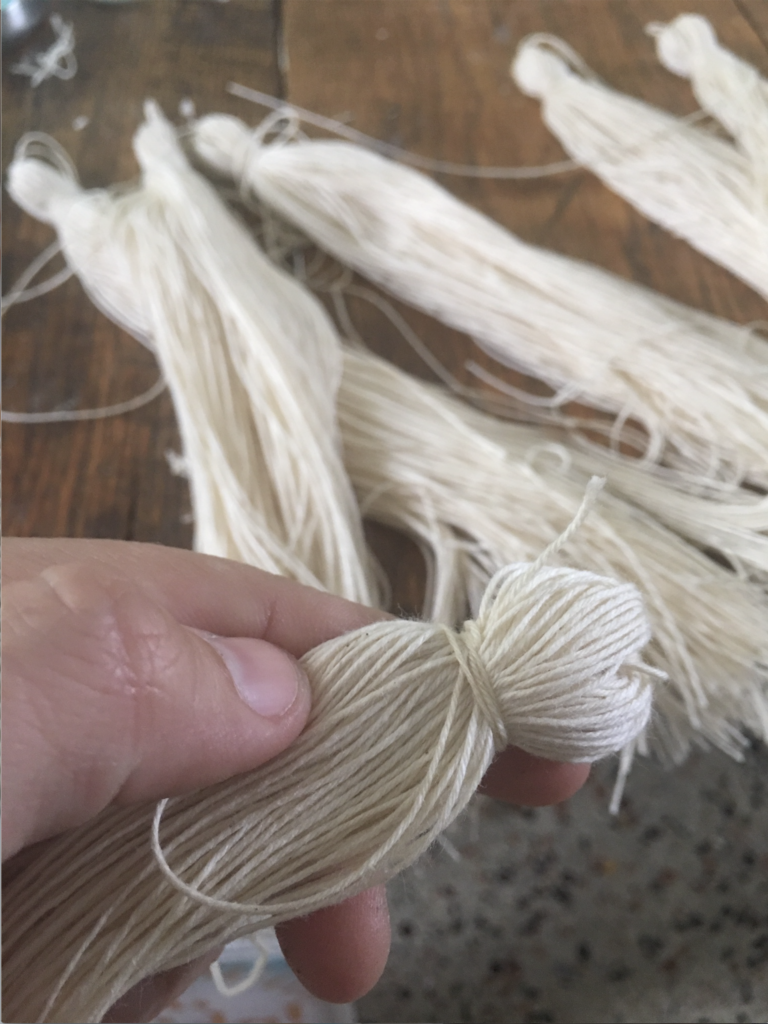
Voila! That’s it, you created your first tassel! It wasn’t that hard, was it? They are simple to make, but making lots does take some time. I ended up with about 50 for my chandelier, I made extra just in case the dye came out weird.
Dye;
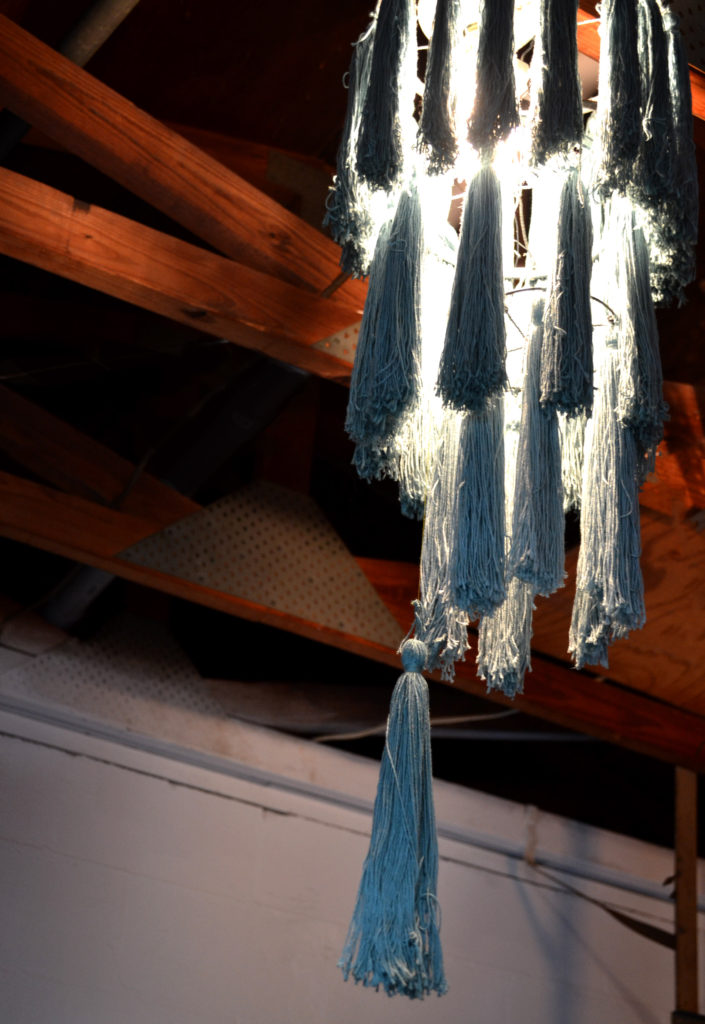
I actually really love the natural look of these, but I also think dying them is really fun. I choose two colors, an aquamarine and dark green to create a dusty blue shade. 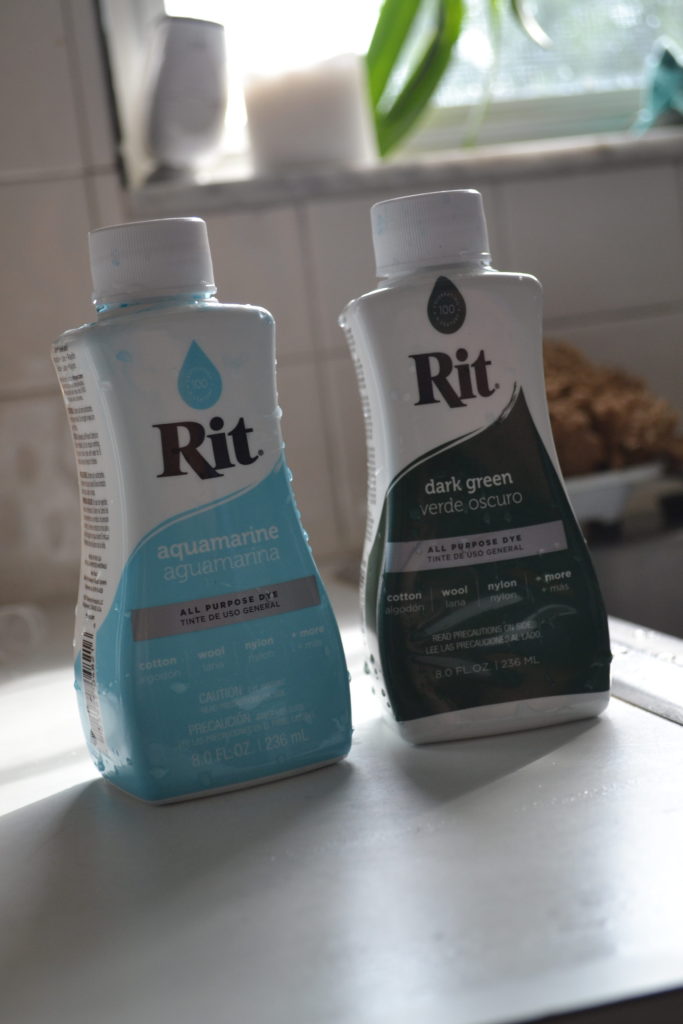
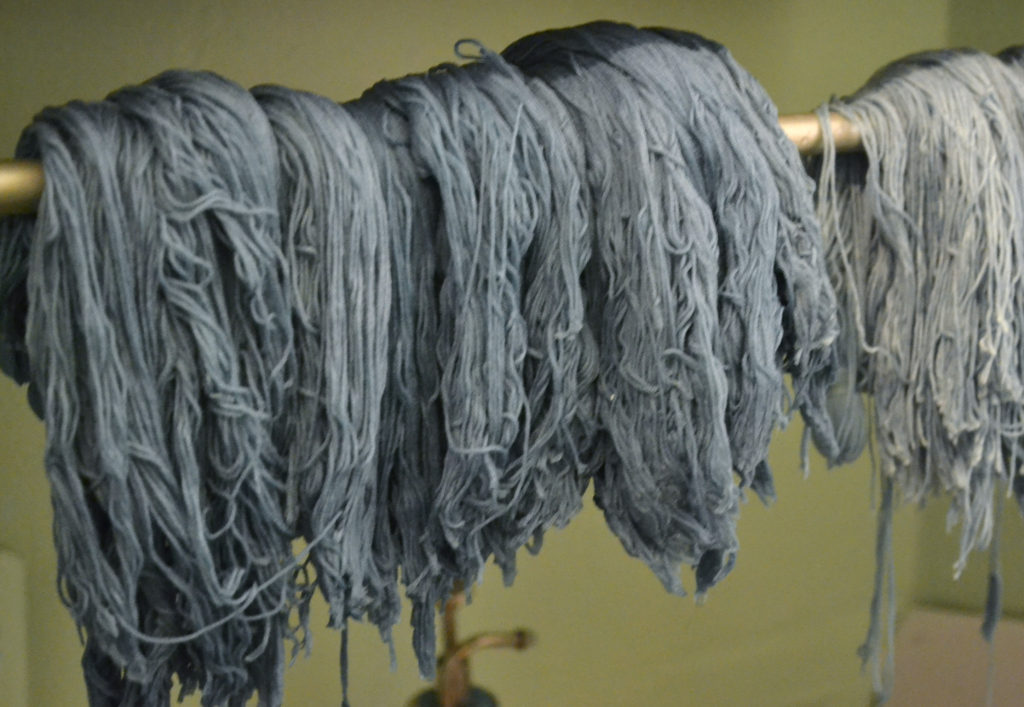
I followed the directions for doing the dye bath in my washing machine, pre-soaking the twine in hot salt water, and then putting them in the dye bath. I kept some of the tassels in for about 2 minutes, another batch of tassel in for about 5 minutes, and the largest batch for about 30 minutes. By doing that I was able to create a gradient of colors for my chandelier.
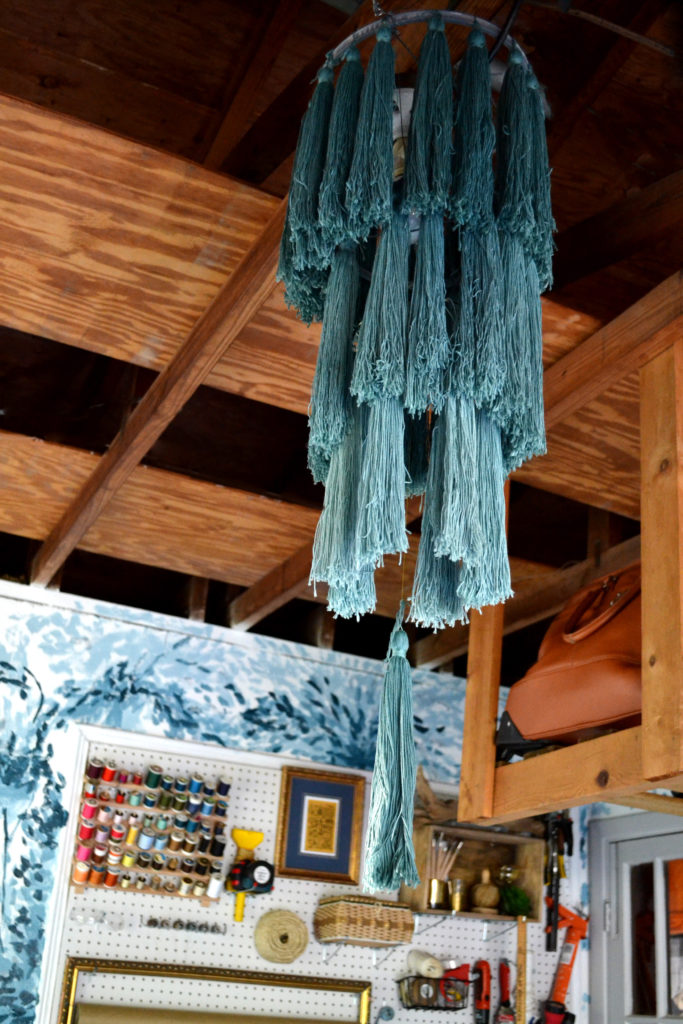
Once the pieces were dry, I used the hanging string on the top to tie each tassel on to the embroidery hoop. The largest was the darkest of color, middle size hoop was the middle shade, and the smallest hoop was the lightest shade tassel.
I created an x in the embroidery hoop with hanging wire, with that, I used more wire to connect each x vertically, so they were centered and even. 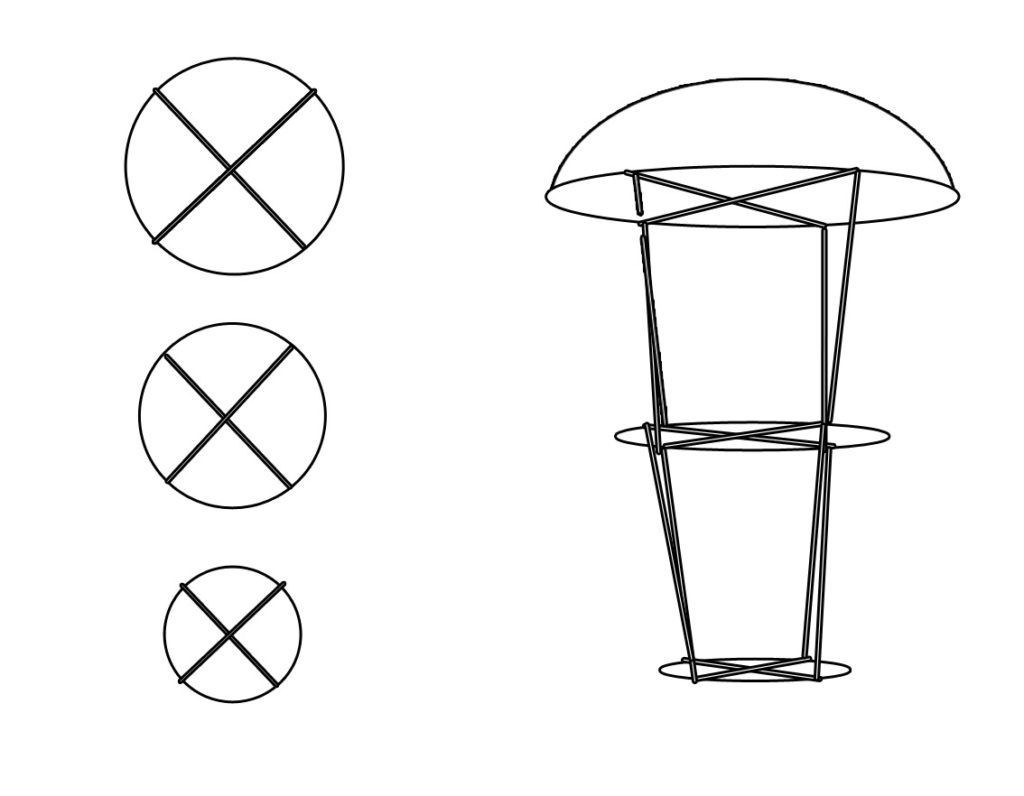
I used a final piece of wire to tie it over the beam in my ceiling and around the fixture. 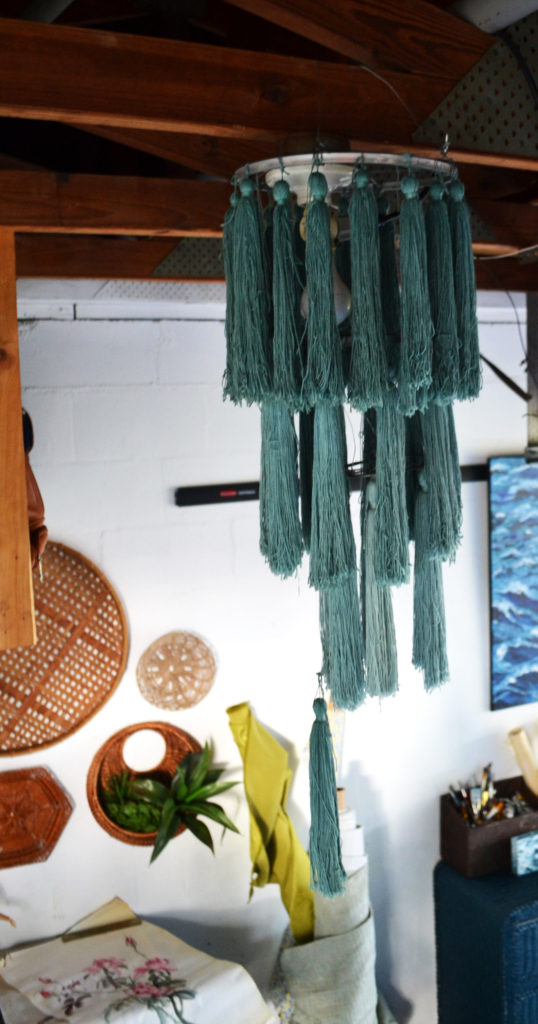
The longest tassel is an extra I had made, that I then attached to the light pull, to easily turn it on and off.
I think it looks great at night too!
Please let us know what you think! Remember to follow me on Instagram and I look forward to hearing about your tassel ideas!!
xoxo

28 Comments on D.I.Y. No Hassle Tassel Chandelier
Leave a Reply
You must be logged in to post a comment.
cash advance payday loans no credit check
canadian pharmacy buy generic drugs from canada
buy tadalafil buy tadalafil
https://prednisonegeneric20.com/ buy prednisone 5mg canada
https://zantacgeneric150.com/ zantac generic
https://doxycylinegeneric100.com/
https://valtrexgeneric500.com/ valtrex cream cost
https://doxycylinegeneric100.com/
drugs prices ed drugs over the counter cheap medications online
viagra vs cialis bodybuilding
ed pills otc generic ed pills overcoming ed
prescription drugs without doctor approval
foods for ed buy generic ed pills online ed medications over the counter
natural herbs for ed
best ed pills ed drugs over the counter sildenafil without a doctor’s prescription
dog antibiotics without vet prescription
safe alternatives to viagra and cialis buy cialis viagra vs cialis vs levitra
cialis prices 20mg tadalafil how long does it take cialis to take effect
erectile dysfunction top erection pills prescription drugs
erectile dysfunction drug generic viagra ed treatment pills
ed cures generic cialis ed drugs over the counter
pills for erection ED Pills Without Doctor Prescription prices of viagra at walmart
viagra prescription online buy ed pills online canadian pharmacy viagra
best place to buy viagra online canadian pharmacy viagra viagra price
non prescription viagra generic viagra online viagra coupon
viagra doses 200 mg buy viagra cvs viagra
how much viagra should i take the first time? buy viagra online where can i buy viagra
ed in men ed meds online without prescription or membership sexual dysfunction in men
viagra from canada viagra low price buy generic 100mg viagra online
does medicaid cover cialis cialis cialis professional
cheap viagra 100mg sildenafil viagra 100mg price
how to get viagra buying viagra online where can i buy viagra over the counter