Florida Garage Space One Room Challenge~
Hi everyone!!! We are about halfway through our 6-week challenge and I feel like I’m in a really great spot! Hopefully, I didn’t just jinx myself saying that that but this week I am talking all about my floors and some simple storage solutions!! If you missed out on our previous posts check out week one here, and week two here!
Week 1 | Week 2 | Week 3| Week 4| Week 5 | Reveal
Flooring
I saw this image and new I had to try it for my own garage/studio space! I love the colors and had to figure out the best/most cost effective way to achieve it!
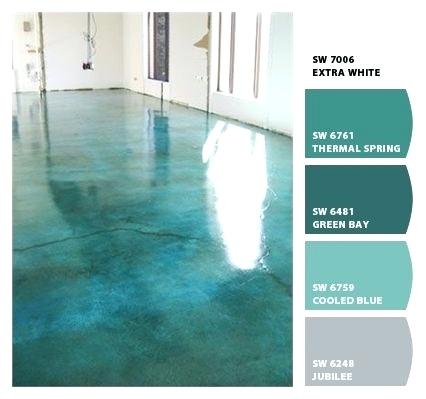 Oh, flooring! In my mind, I thought the flooring would take a few days. I THOUGHT I would be able to seamlessly strip away all of the old paint, put my beautiful stain down and finish with my clear coat and by on my merry way. But I was wrong. SOOOOOO very very wrong. Let me first start out by saying; if you are ever planning on using any type of stripper, epoxy or stain, please make sure you are in a well-ventilated area, that you have the proper eye, skin and face masks, and that you do your research!
In case you haven’t seen last weeks post, here is what the floor did look like; 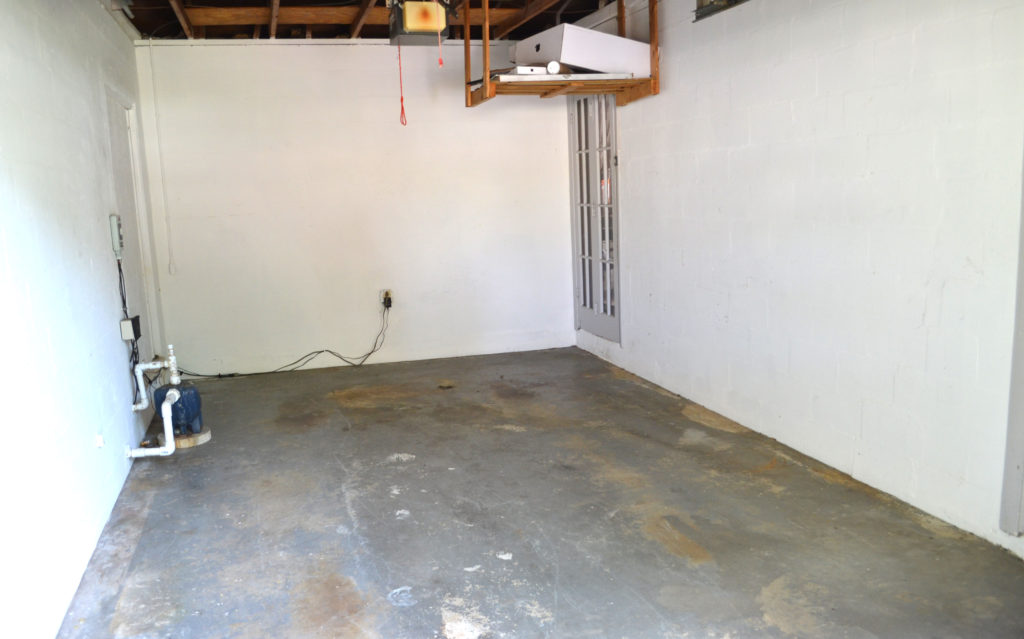
We weren’t sure what our flooring had on it. It was dirty, stained and gross. We started by sweeping the floor. Following that, we read the instructions on our can of stripper. We poured it on and waited. When I began to strip it away, some of it came off but we realized that it was more of a grey stain on the concrete flooring instead of a paint. With that being said, I had to come up with another plan. Stain likes to penetrate, whereas paint will primarily sit along the surface and gradually chip off or peel away. We stripped the floor as best as we could, followed it up with some muriatic acid, which is also similar to a type of stripper. Please make sure you read all of the instructions carefully with that as well! We thoroughly cleaned the acid off and let it dry!
After doing a little bit of research, I remembered a product I had used before. It is considered a masonry paint, but the primer comes in a clear or trasparents and it perfect for concrete brick. It penetrates pretty closely to stain, dries pretty quickly and would create the more transparent look I was going for. I went to my local hardware store and got two gallons, in hindsight, 1 gallon of my main color would have worked just fine, and then a quart of accent color. I asked them to stain it in a teal and greeen pictured below.


I very “messily” applied my ocean radiace color paint, making sure that it wasn’t too thick in any one area.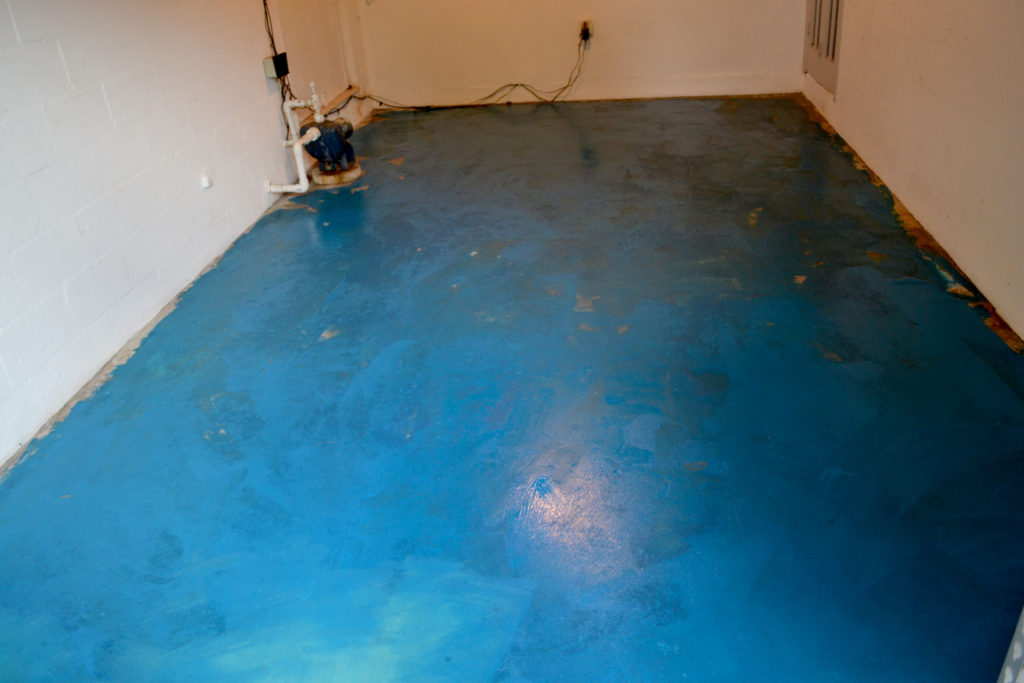
Before it completely dried, I added the smallest amount of my green color. Being very random where it went. I didn’t want to create a pattern on the floor. The more random the better! 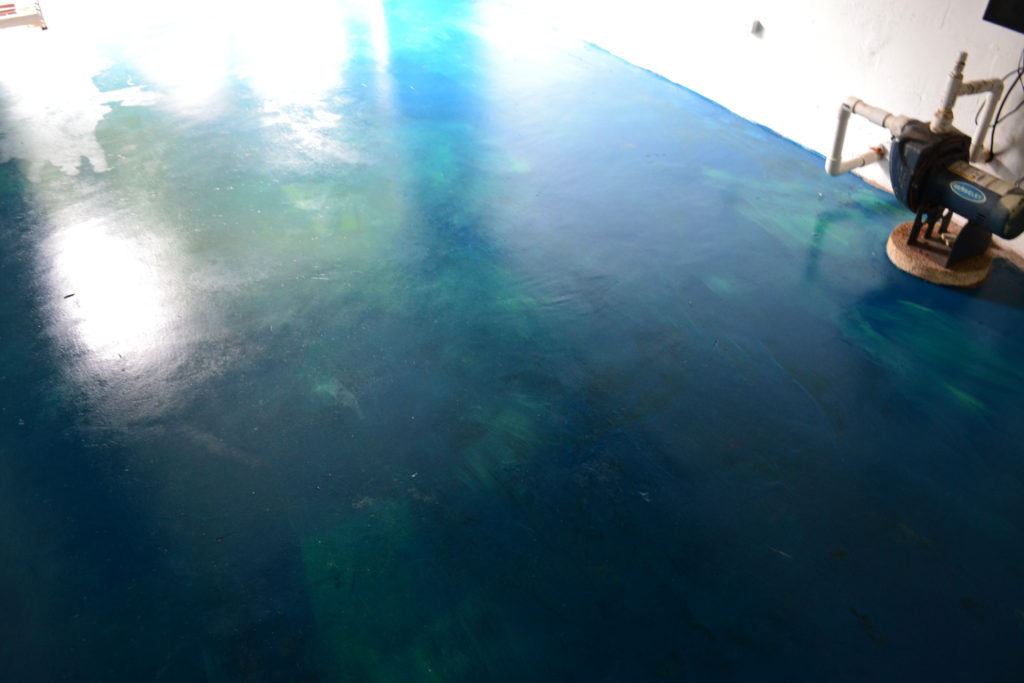
Once that thoroughly dried for a few days it was time for the top coat. I went with something a little unorthodox, but I really wanted the floor to be super shiny and glossy, so I picked up a gallon of resin mix. Again, make sure you follow all of the directions carefully- and have some help. This is definitely not a one person job!
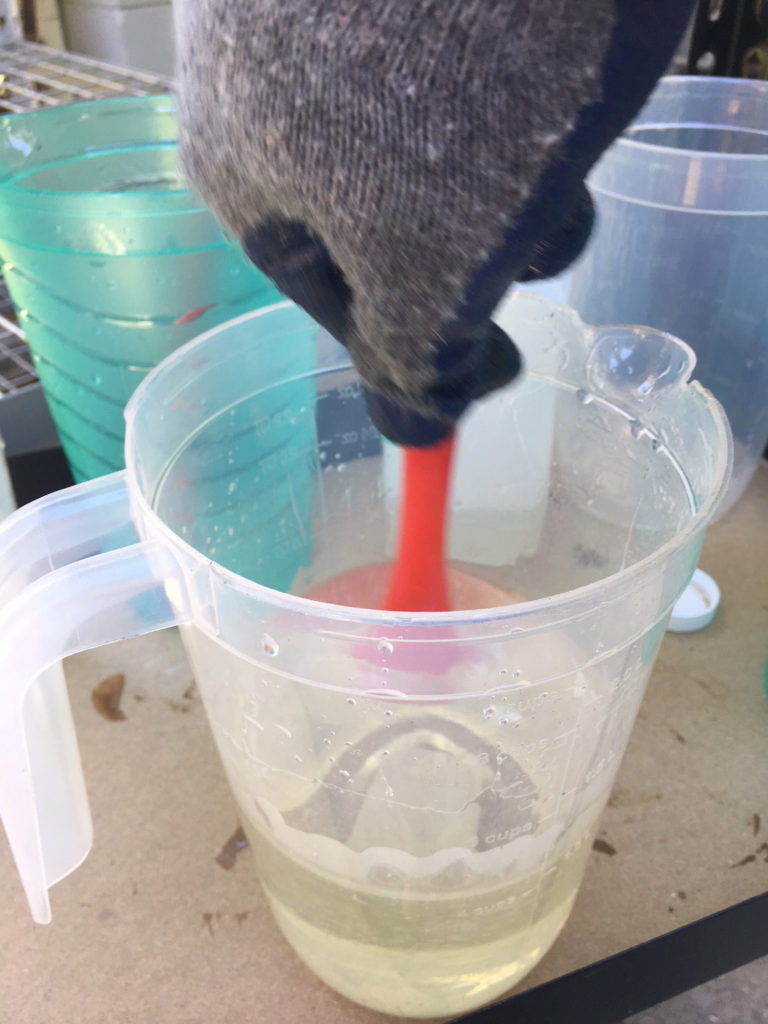
Our resin said to mix equal part hardener and resin, mix for 6 minutes and then transfer to a new container and mix for an additional 6 minutes.
Here I am using a squeegee to spread out the resin and make it nice and even.
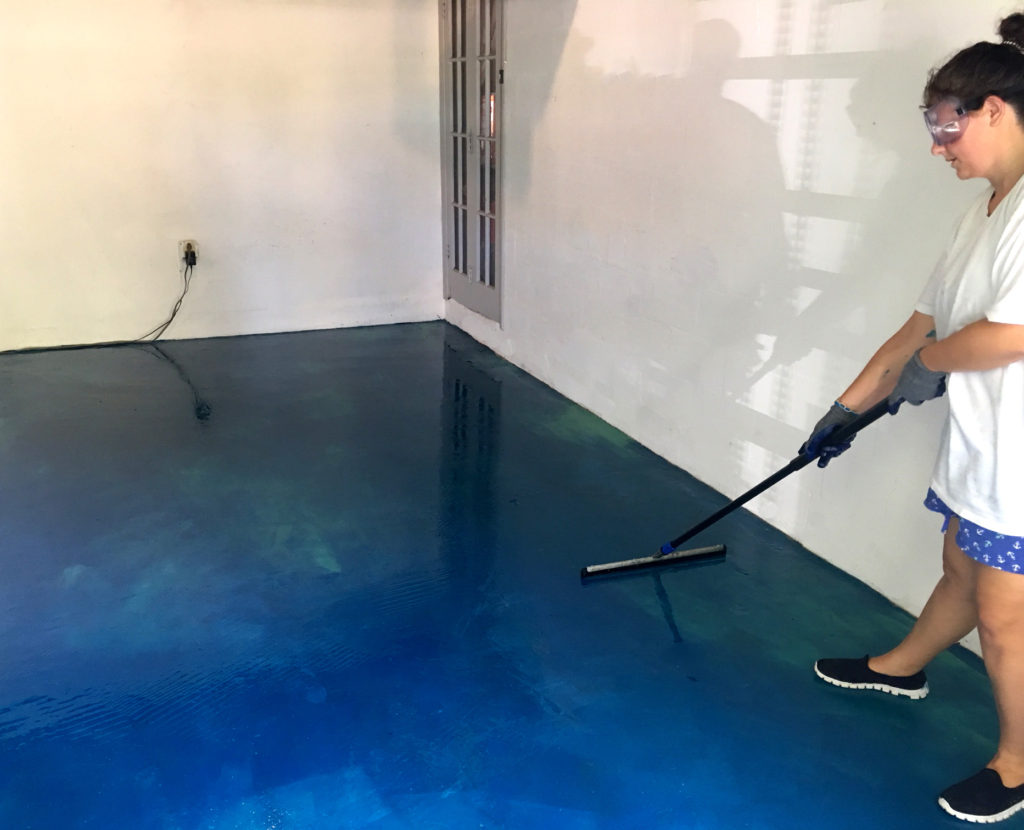
Once the resin dried after 72 hours, it looked so nice and glossy!! I LOVE IT! We’ll see how it holds up! I’m not posting a picture of the entire floor yet as I want to wait until the reveal but I’m loving the look so far!!

Storage
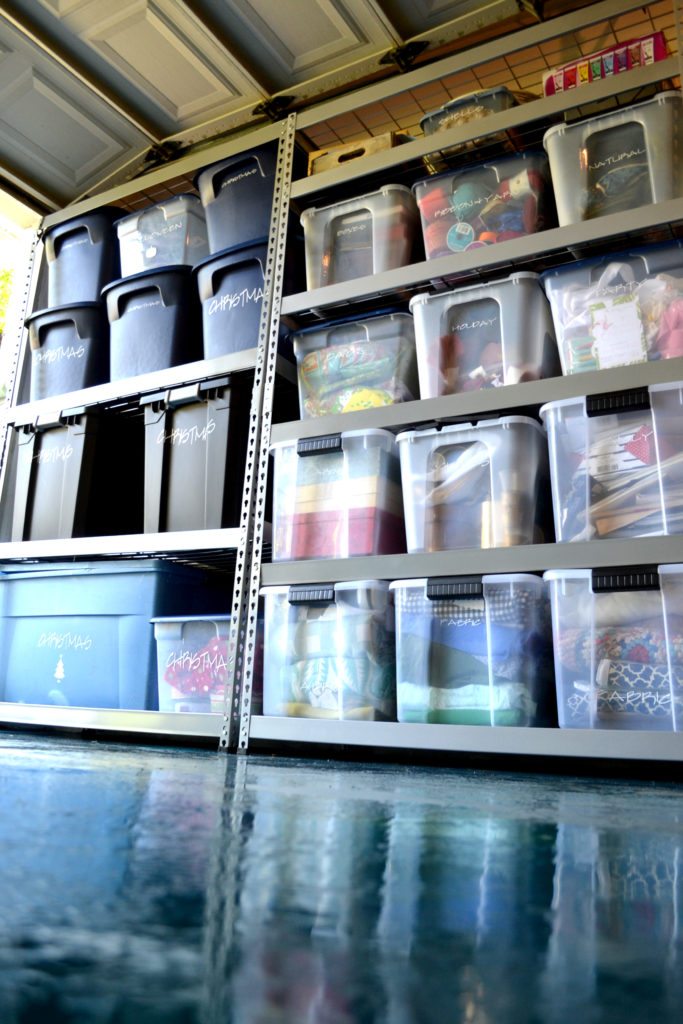
Storage was also a big undertaking, I purchased several size bins, used a cricut machine like this one here, and started organizing. We donated tons of stuff, but there are certain items I need for my set styling and decorating so I needed to make sure they were really well organized.
I made a list of labels and put them into the computer program. I used transfer paper and some tools to transfer the labels to the bins. 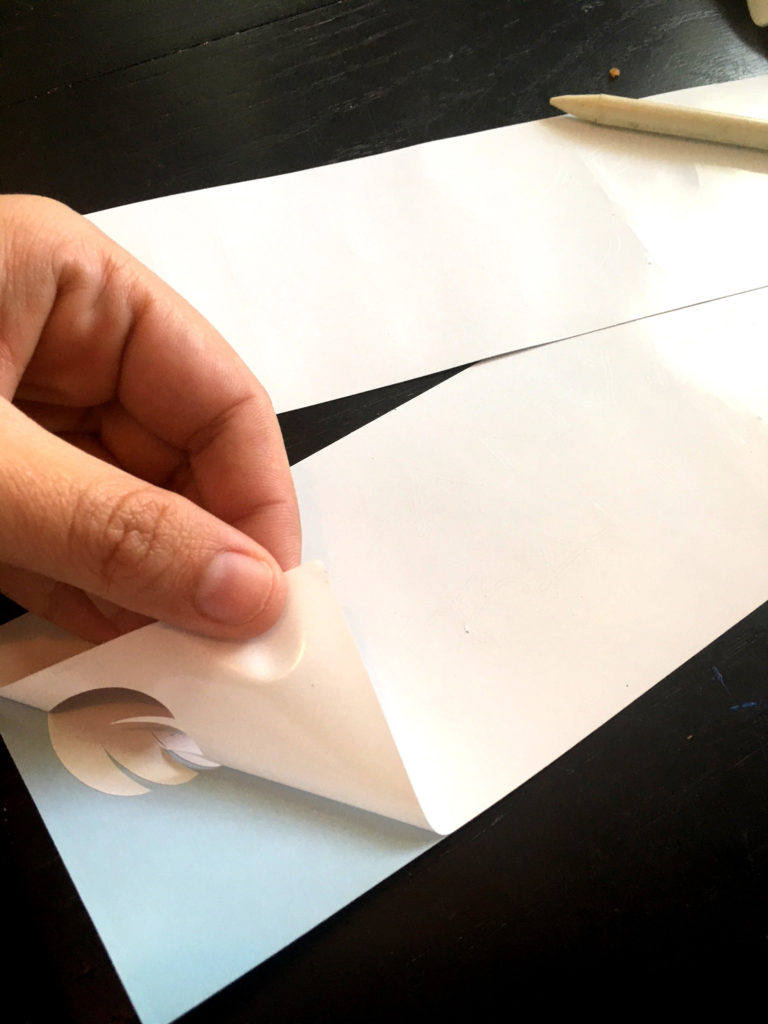
I used shelved like this from home depot, and once all of the bins were labeled, I played a little Tetris making them all fit. 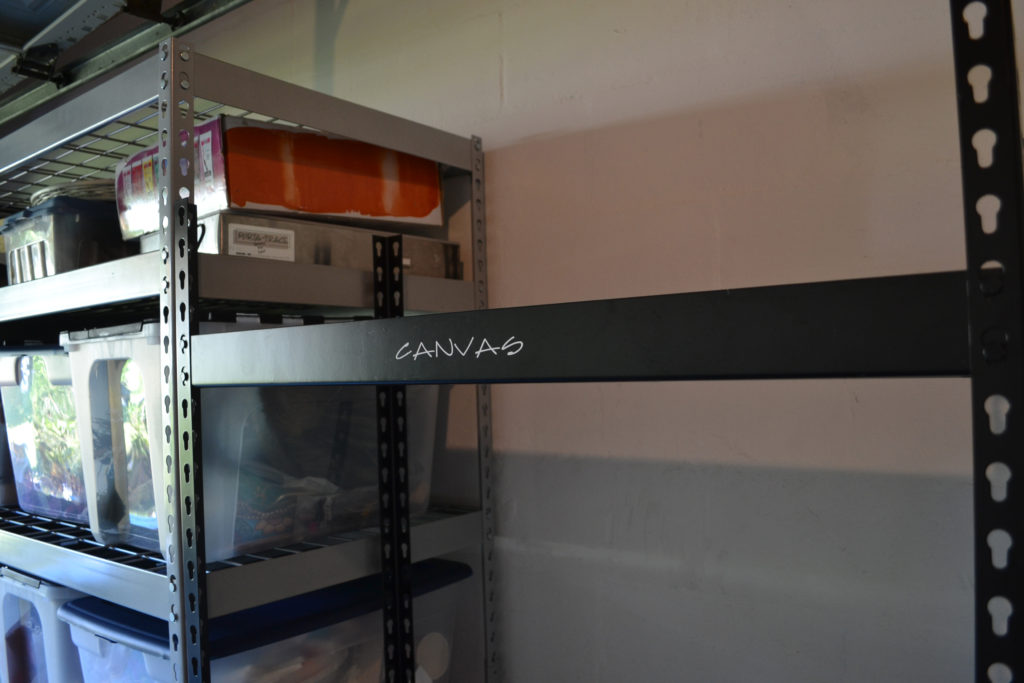
 We’re starting to get to the fun part! Next week I’ll be taking down the giant piece of wood that is covering up a large window in the garage, and showing you a few DIY projects that I’m working on for the studio! Let us know what you think! I’m loving it so far!
I’m sure everyone else has been just as busy as I have! Be sure to check out what all of the other guest participants are planning for their makeover!
32 Comments on Grungy Garage Makeover -ORC Week 3 !
Leave a Reply
You must be logged in to post a comment.


speedy cash payday loans online instant online payday loans
tadalafil canada tadalafil online
payday loans no credit check instant approval instant online payday loans
natural ed cheap pills online best ed drugs
best natural cure for ed best canadian online pharmacy pharmacy medications
cialis dosage generic cialis for sale how much does cialis cost at walmart
generic cialis without prescription cialis for sale generic cialis at walgreens pharmacy
ed natural remedies generic viagra natural remedies for ed
ed drug comparison ED Pills Without Doctor Prescription buy prescription drugs from canada cheap
male erection canadian online pharmacy ed medicine online
medication for ed Cheap Erection Pills male enhancement
best ed pills cheap ed pills ed natural remedies
drugs prices generic viagra natural ed
buy generic viagra online buy viagra price of viagra
roman viagra cheap viagra viagra without a prescription
cheapest generic viagra generic viagra online over the counter viagra cvs
viagra without a doctor prescription canada generic viagra online where to buy viagra online
best medication for ed what are ed drugs ed remedies
ed products reasons for ed drugs causing ed
generic viagra online for sale cheap viagra generic can you buy viagra over the counter
cialis 30 day sample cialis for sale fastest delivery of cialis buying online
viagra without a prescription buy viagra generic where can i buy viagra over the counter
viagra discount canadian pharmacy viagra online pharmacy viagra
I too have been working on our garage. PURGING is the order of the day! I am SO GLAD to find some inspiration that isn’t all Container Store. I love their stuff, but who can afford to do that much without it being sponsored?Looking forward to seeing your final result.
Ah yes, container store, it’s amazing but sometimes it’s a little too much! We donated SOOO many items its crazy! I’m loving having the creative space so far! 🙂
I absolutely LOVE the floor here!!!
Thanks Libby! I’m loving it too! <3
Floor looks amazing!!
Thank you so much! a labor of love! <3