I never thought the day would come when my little bambino would finally turn one. I had planned her birthday for months in my head, so when the time came to finally start crafting I was ready! Our daughter is now already a year older so I figured it’s better than never to show you all of the crafts that almost didn’t exist because a hurricane was headed straight to our house!!
I knew I wanted something tropical for her first birthday. I chose a color palette and pretty much stuck to it. Pinks, Peaches, and greens! 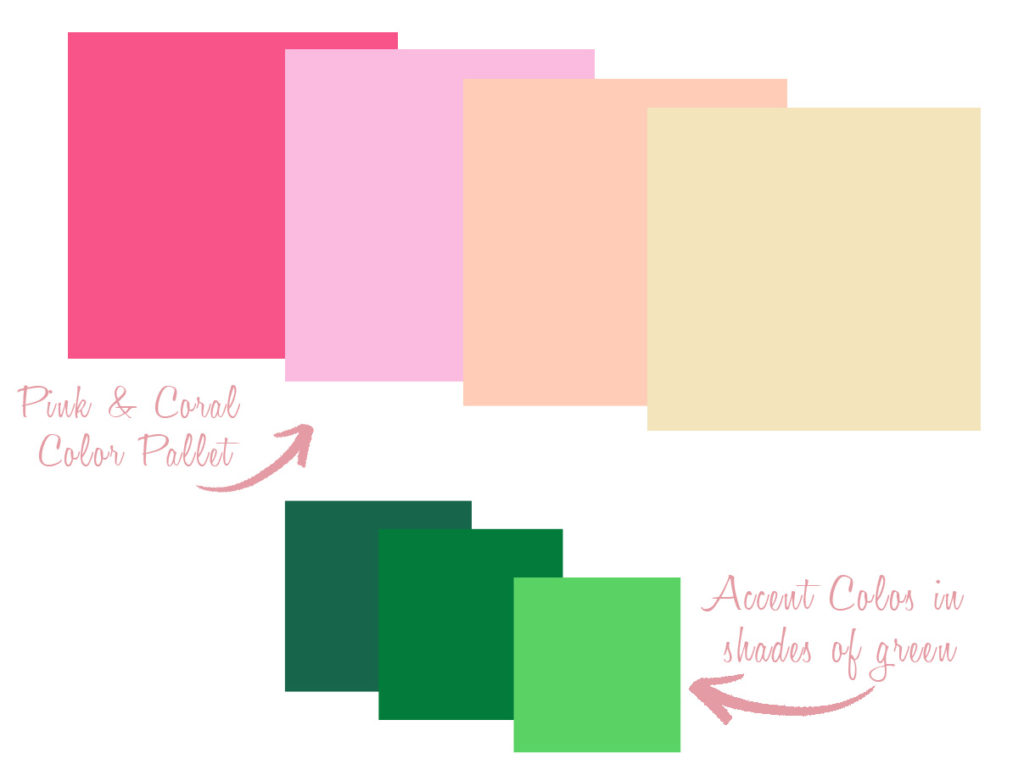
Because I did SOOOO many DIY’S for her first birthday, I’m going to show you how to do all of the backdrops today but I’ll really go into detail about some of the smaller projects like her handmade flamingo cake topper, water- bottles, & accent pieces in another few DIY posts later on.
If you’ve wanted to do a fun accent wall with balloons, here is what you’ll need. **You also need some packing to get started-which isn’t pictured.
![]()
Steps;
First:
After I picked the balloons that coordinate with my color pallet, I blew them up, varying in sizes. You don’t want all of the balloons to be the same size because it won’t all fit together. And, if you’re anything like me, you will pop a few, and then blow up some more to fit into the random spaces that will occur.
Second;
Once I had my balloons blown up, I cut the chicken wire and bent it into an organic wavy like shape. I used some nails on my wall and hung it on that. I made my balloon wall to go around a frame that I was putting some hand lettering in later on. I played with the shape a little more until I felt like it was even. If you don’t like the idea of using nails, you can always buy those sticky hooks!
Third:
I then used the packing tape, making almost like tail, sticking it to the balloons, and then feeling it through the wire. Do this with your biggest balloons first.
In the picture below, I used my LOW-Temperature glue gun to fill in all of the areas. Again, make sure you have varying sizes. 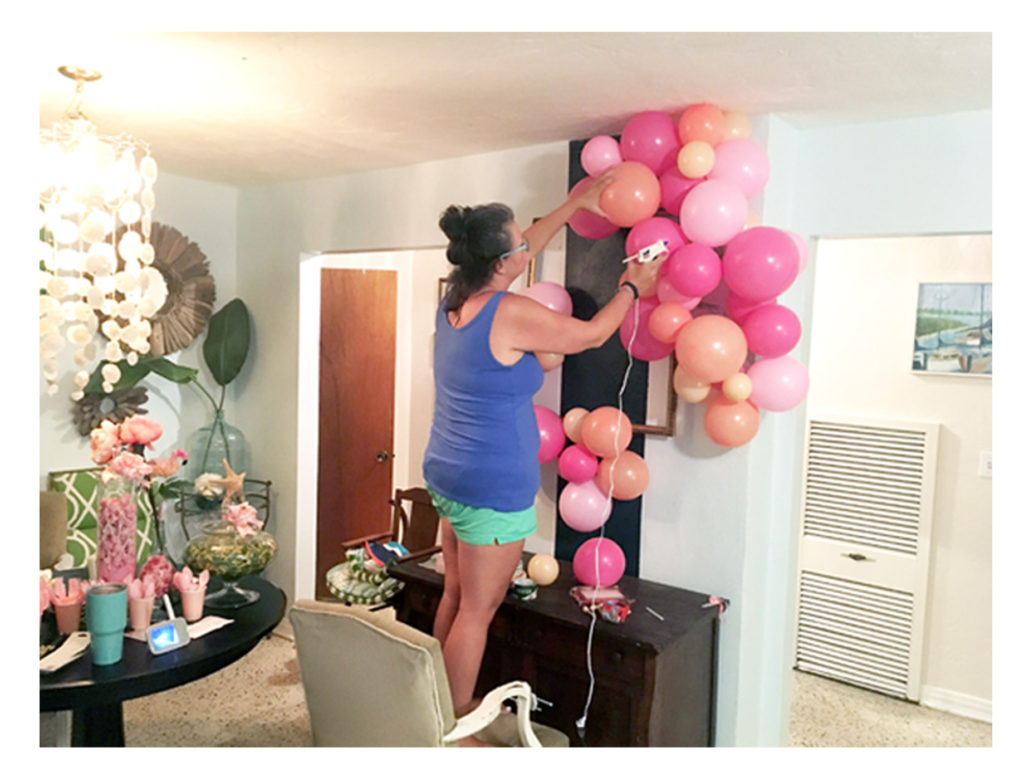
Finally, when I felt that it was finished, I added to tropical leaves, and flowers to really finish it off! I think it came out great and everyone at the party thought it looked so neat!
![]()
For the Green Leaf Backdrop, here is what you need;
![]()
Steps;
First
On your construction paper, draw the basic outline of a leaf. I drew basic outlines shapes like these for the leaves. Make sure you vary in size and shape of the paper leaves. Also, make sure you use different shades of paper.
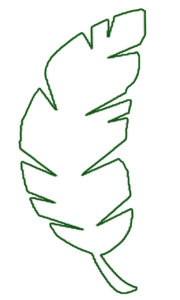

Next, Cut out the leaves. Remember they are an organic shape so its okay if it’s not perfect.
Last, I layered the leaves, similar to the picture below, taping them to one another. I wanted to create almost a valance of leaves, to go above the table where the food would sit!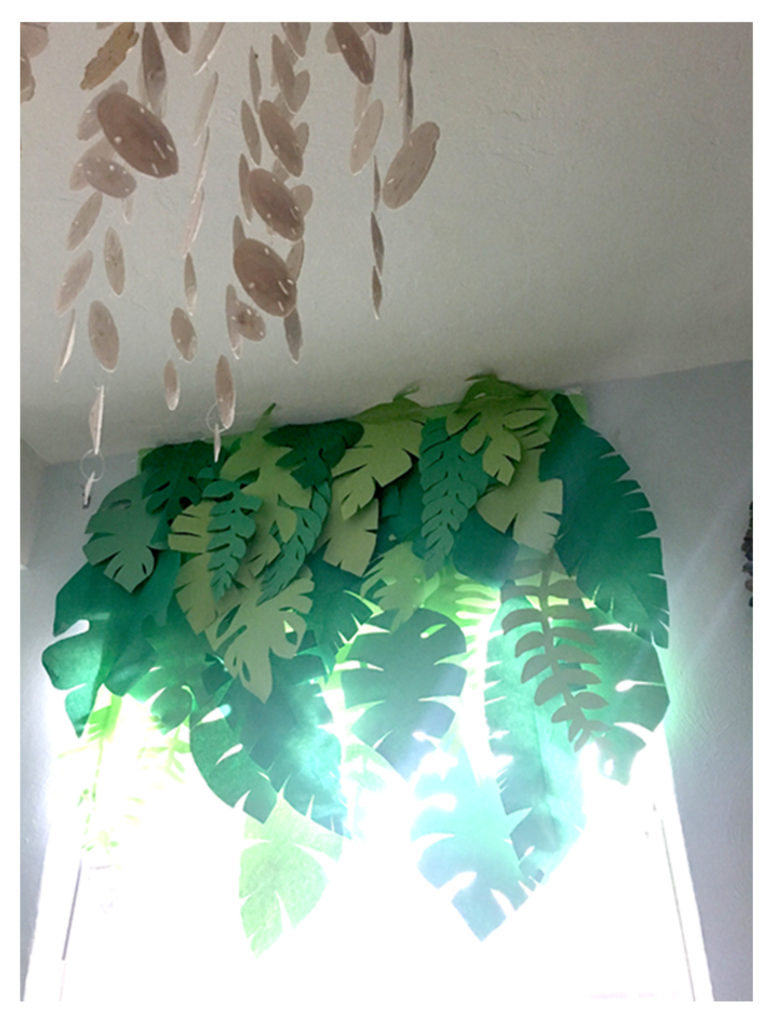
63 Comments on Tropical 1st Birthday Accessories!
Leave a Reply
You must be logged in to post a comment.
buy generic drugs cheap online pharmacy
personal loans for bad credit payday loans no credit check instant approval
payday loans online fast deposit payday loans direct lenders
does clomiphene work for women https://salemeds24.wixsite.com/clomid
cheapest sildenafil cheap sildenafil
cheap sildenafil cheapest sildenafil
personal loans personal loans
zithromax 500mg price in india average cost of generic zithromax
https://zithromaxgeneric500.com/ zithromax 500mg over the counter
valtrex daily use buy valtrex 1000 mg
can i purchase amoxicillin online amoxicillin capsules 250mg
https://zantacgeneric150.com/ generic zantac for sale
20 mg prednisone india buy prednisone online
stromectol tablets https://ivermectin.webbfenix.com/
https://prednisonegeneric20.com/ prednisone buy online nz
canada pharmacy prednisone 6 prednisone
can you purchase amoxicillin online amoxicillin 250 mg price in india
https://amoxicillingeneric500.com/ medicine amoxicillin 500
generic zantac recall generic zantac for sale
best natural ed treatment cheap pills online ed meds online
overcoming ed
viagra vs cialis bodybuilding ed pills online pharmacy ed pills for sale
prices of viagra at walmart
help with ed cheap pills online cheap pet meds without vet prescription
best ed treatment
ed medications online ed meds online without doctor prescription pain meds without written prescription
is ed reversible
buy ed pills online cheap medication online impotence pills
male enhancement
how to cure ed naturally canada ed drugs viagra without a doctor prescription walmart
cause of ed
pain meds online without doctor prescription generic ed pills buy ed drugs
how to cure ed
how does acyclovir work intracellular https://www.herpessymptomsinmen.org/productacyclovir/
п»їcialis generic cialis side effects for cialis
generic cialis tadalafil generic cialis for sale п»їcialis
cheapest cialis cialis canada cialis coupons 2019
coupon for cialis by manufacturer buy cialis generic cialis at walmart
hard erections cialis cialis generic cialis black 800mg
how much does cialis cost at walmart cheap cialis cialis before and after
ed problems treatment cheap ed pills drugs prices
male ed pills cheap ed pills which ed drug is best
erectile dysfunction pills generic viagra causes for ed
buy ed pills online ED Pills Without Doctor Prescription prescription drugs online
walmart viagra viagra canada viagra prescription online
canadian online drugstore
viagra from india generic viagra roman viagra
generic for viagra generic viagra canadian online pharmacy viagra
erectal disfunction
order viagra online buy viagra generic generic viagra
viagra for men online canadian pharmacy viagra cheap viagra online
treatment with drugs
viagra price comparison buy generic drugs how much is viagra
viagra no prescription viagra canada can you buy viagra over the counter
mens ed
cheapest viagra online viagra canada over the counter viagra
ed drugs online
buy generic viagra buy viagra online canadian viagra
buy viagra buy generic drugs online pharmacy viagra
buy prescription drugs from india
buy real viagra online buy viagra online viagra prescription online
dog antibiotics without vet prescription
how much will generic viagra cost buy generic drugs canadian pharmacy generic viagra
viagra canada buy viagra online viagra cost per pill
ed aids
otc ed pills erectile dysfunction treatments canadian drugstore online
canadian drugs best male enhancement male enhancement
generic viagra without a doctor prescription buy ed drugs best ed treatments
cheap viagra viagra low price online viagra prescription
best place to buy viagra online viagra best place to buy viagra online
where can i buy viagra over the counter viagra viagra
price of cialis buy cialis canadian cialis
daily use of cialis cheap cialis what are the side effects of cialis
normal dose cialis cheap cialis how much does cialis cost
how much viagra should i take the first time? buy viagra online viagra walmart
how much is viagra cheap viagra buy generic viagra
buy generic viagra generic viagra buying viagra online
buy viagra online generic viagra viagra without a doctor prescription usa