Beach Chic Bedroom Space One Room Challenge~

I am soooo… excited to show you the progress of this week! I was able to turn old nightstands into the perfect pieces for my daughter’s room as well as reuse a fun piece she already had for basically no money!
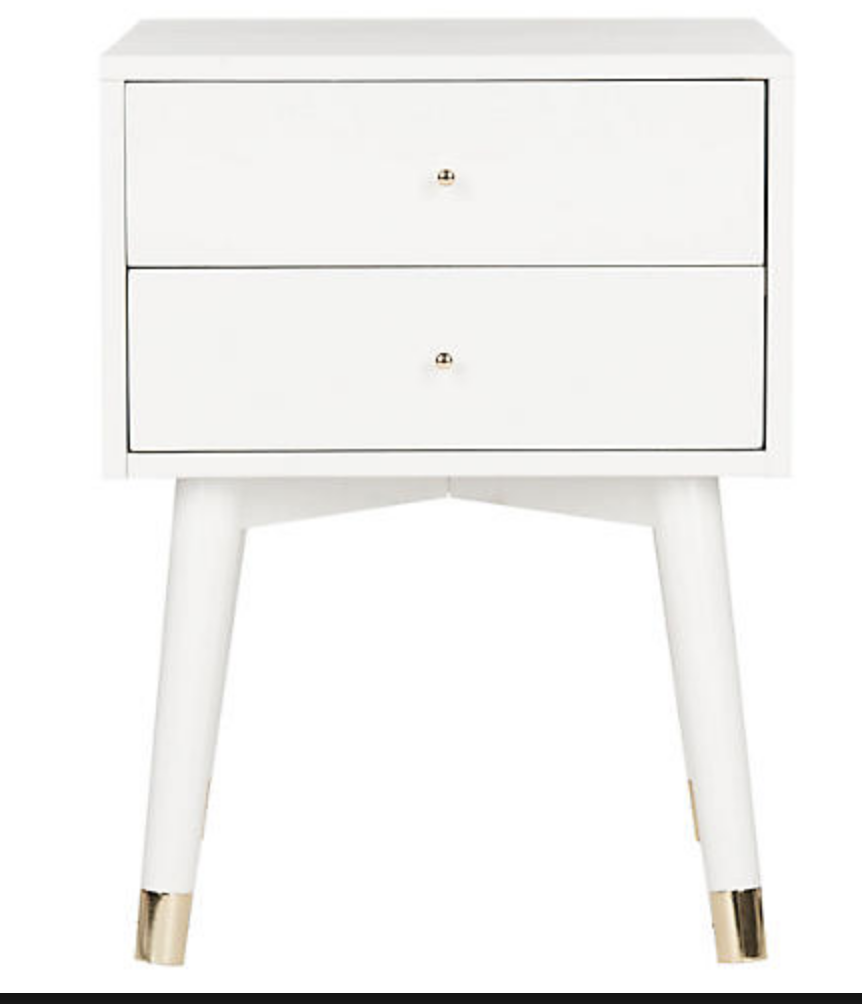
I was originally planning on purchasing new nightstands, but when I found some at my local Goodwill for $10.00 I couldn’t pass them up.
If you are new to the One Room challenge, click here, or on their logo above to find out more information!
To follow along with my progress week to week, use the navigation below!
Week 1 | Week 2 | Week 3| Week 4| Week 5 | Reveal
The Nightstands
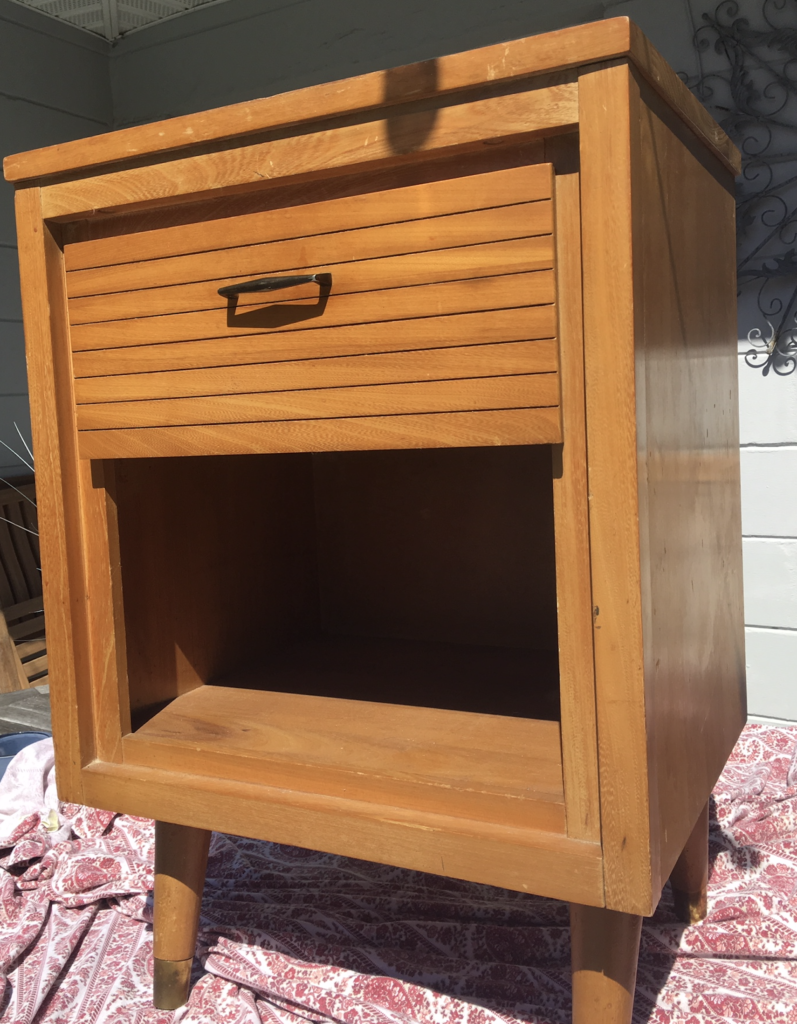
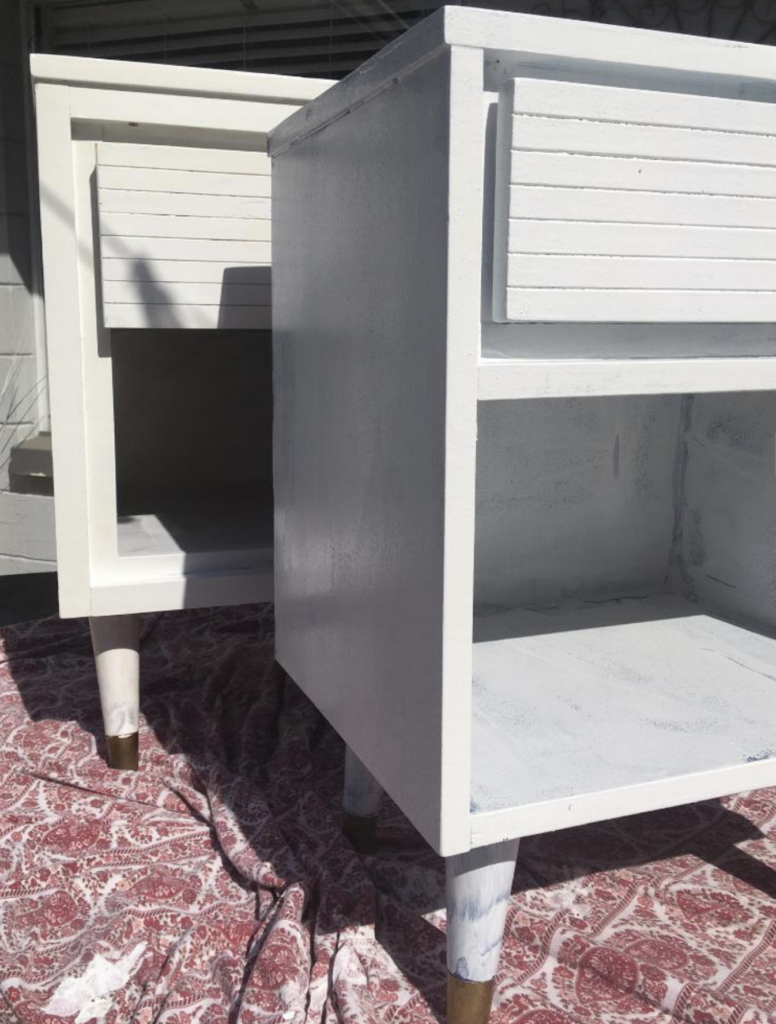
Before
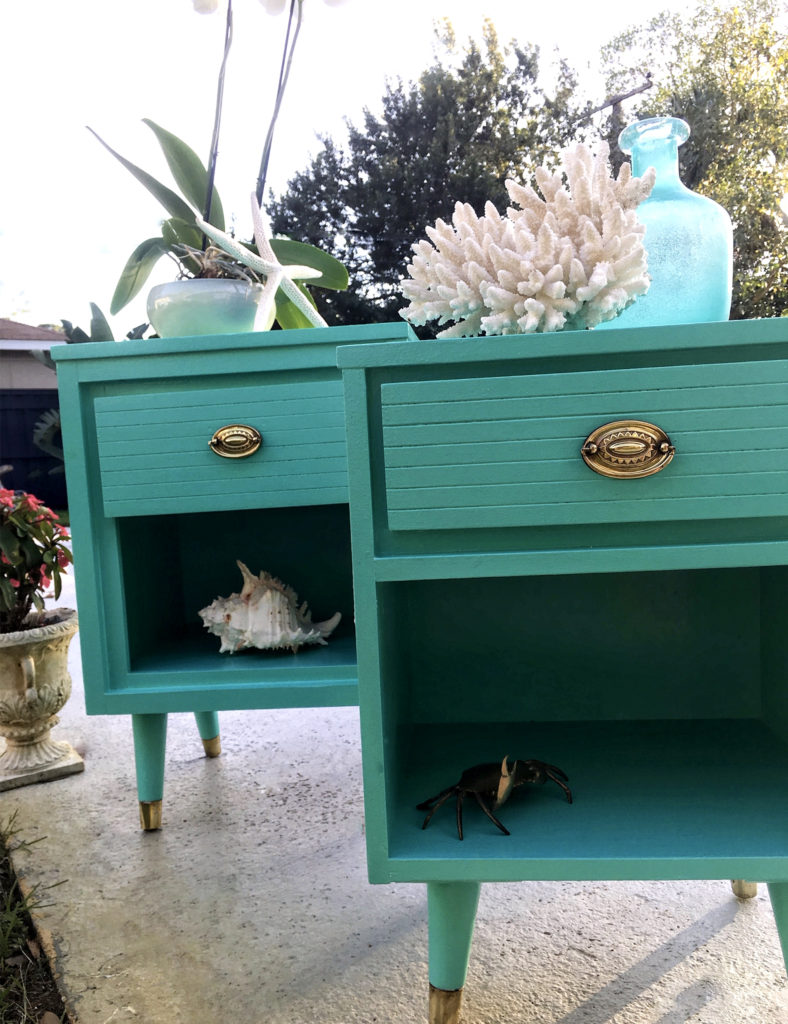
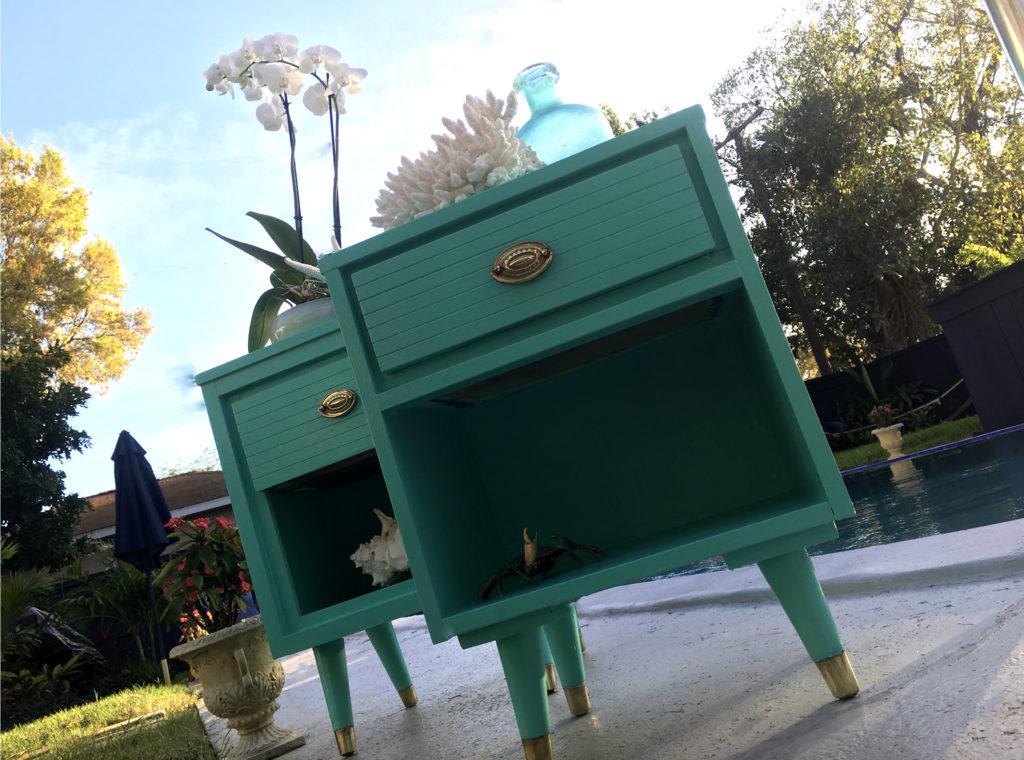
So the nightstands were pretty beat up, they weren’t exactly the same, but painting them and adding matching hardware would be enough to make the coordinate. I loved that they have larger storage area on the bottom for either baskets or books, and a drawer in the tops to hide away all of that fun kiddie clutter that adds up!
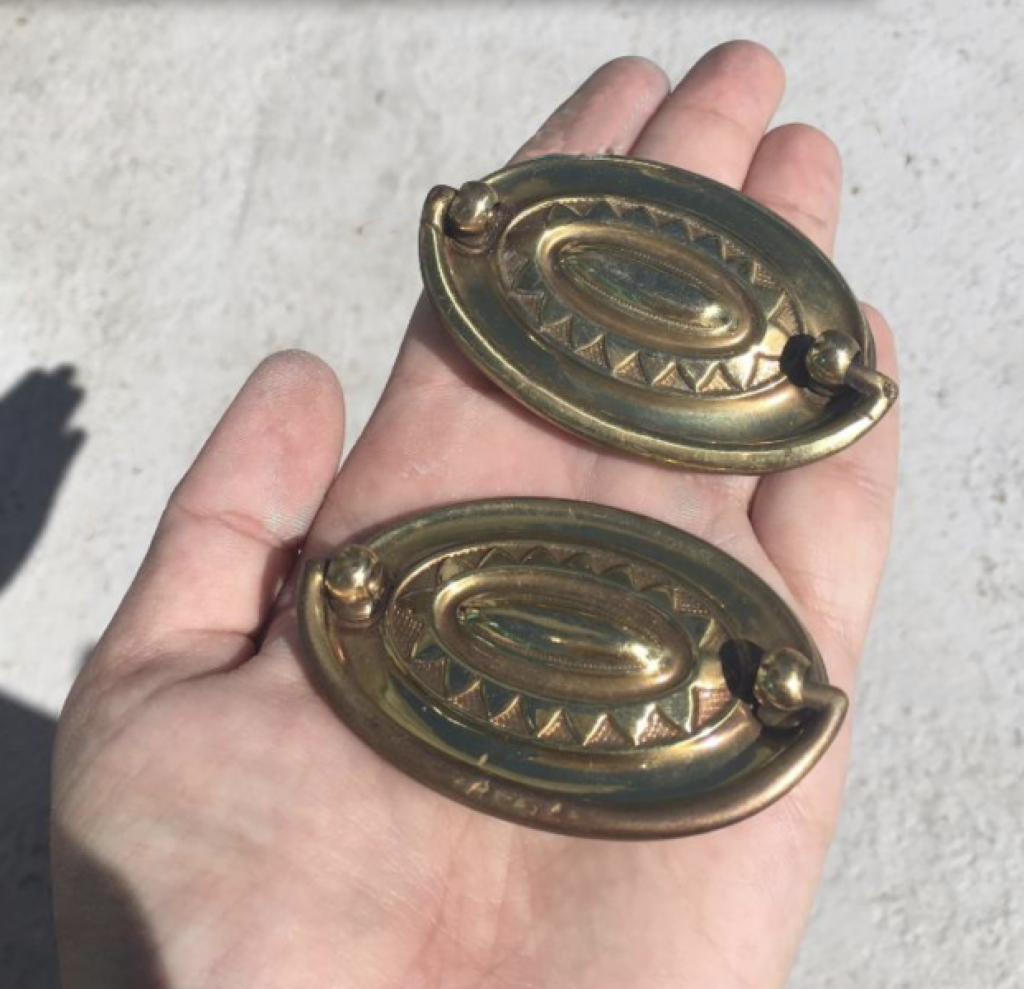
The hardware pieces are vintage that I found on Ebay for a total of $3.00 (that price also included shipping). They are actual brass, not the brass coasted junk that you find in big box stores now. I knew they would hold up nicely and add a cute whimsy effect to her room. They just needed a little polish!
the process…
Before you start, take off any existing hardware. My first step was sanding both pieces. The better you sand, the better it will come out. Just remember to go slow, and take your time.
I then used something called liquid sandpaper, I had never used it before, but it really
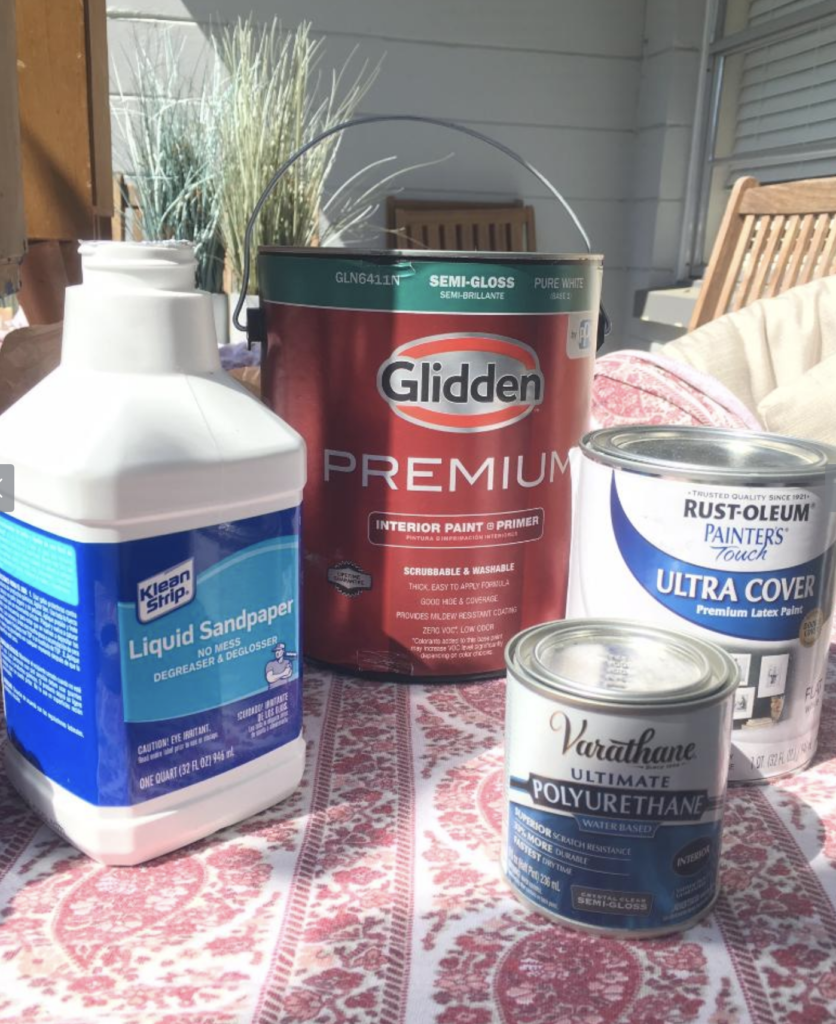
After the liquid sandpaper was applied according to the directions on the bottle, I then used a premium latex
Now came the fun part, the PAINT COLOR!! I purchased an entire gallon of semi-gloss paint, this color is called Thai Teal. I did two coats on these but I’m also going to be doing a pretty large mural in the room with the same color so I wanted to make sure I had enough!
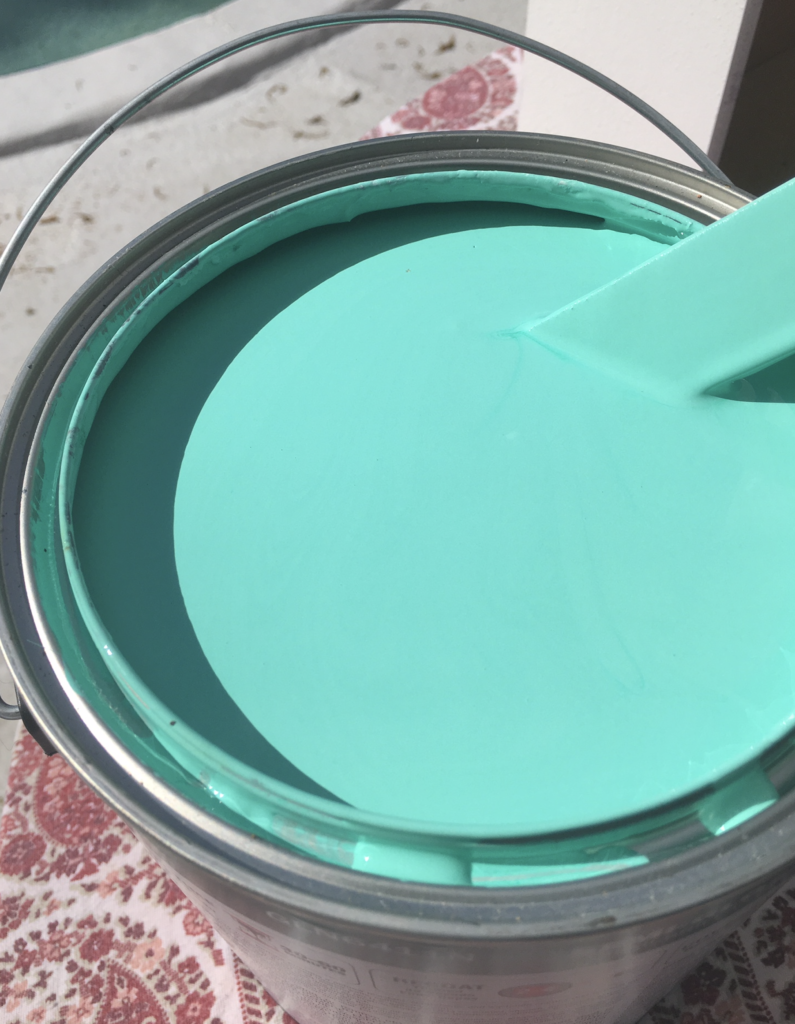
How amazingly obnoxious is this color?! I just love it for her room!
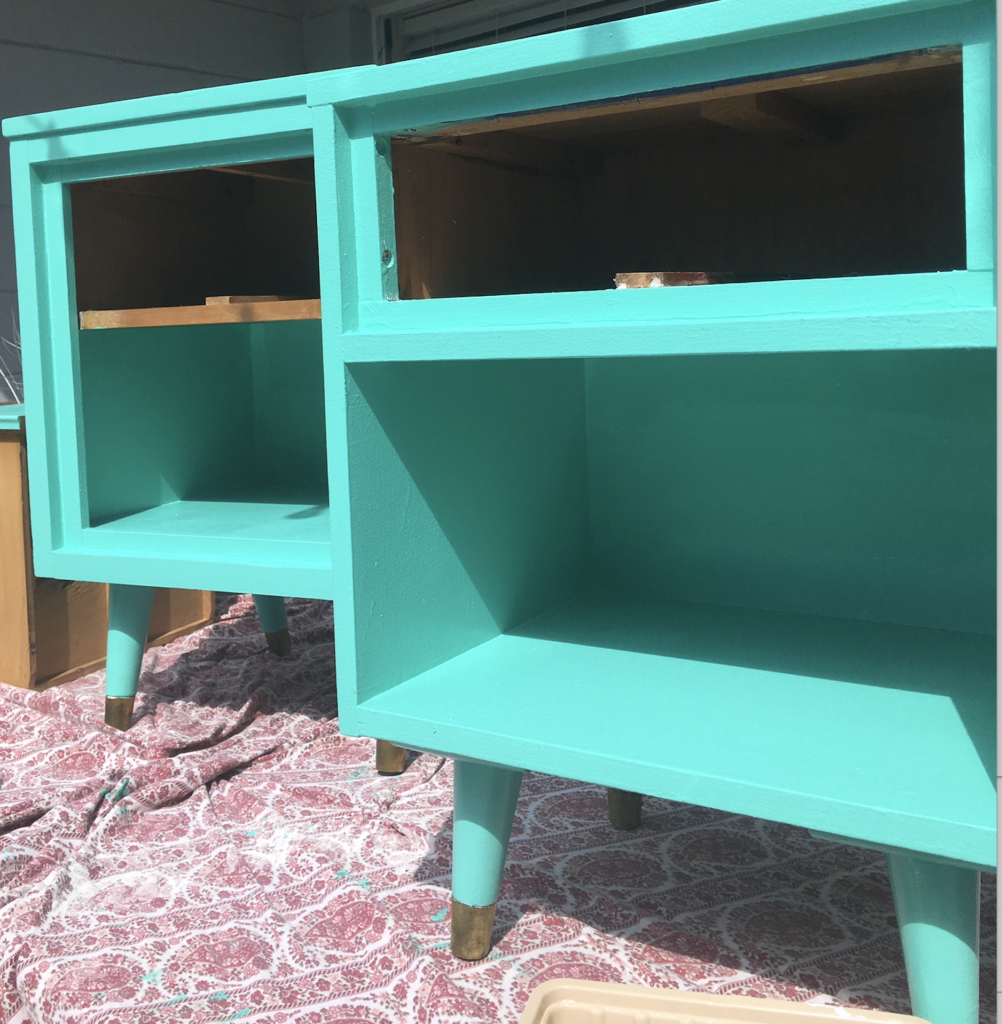
Once I finished the two coats of semi-gloss, I let it dry for about 24 hours. I then added the final step, with is the semi-gloss polyurethane. This stuff dries super fast, so make sure you paint it on quickly! This step will help keep little sticky fingers from getting it dirty.
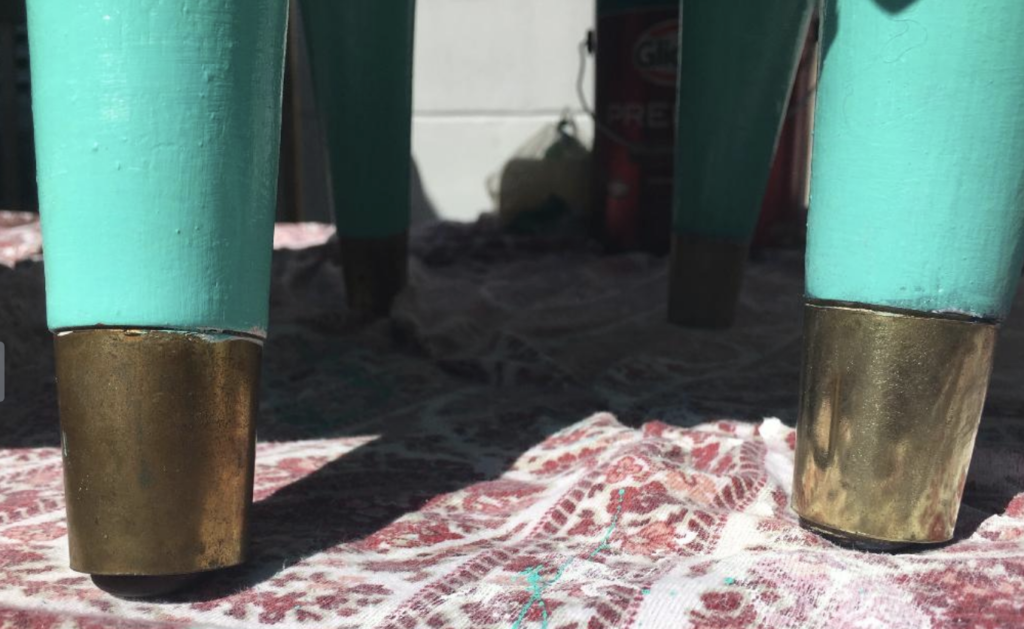
Lastly I polished the brass handles, attached them and also polished the brass feet, with brasso.
Look at the difference from one to the other! Before and then after! I just love how it looked!
after…
The Mirror
If you’re still following along with me, thank you and as
before…
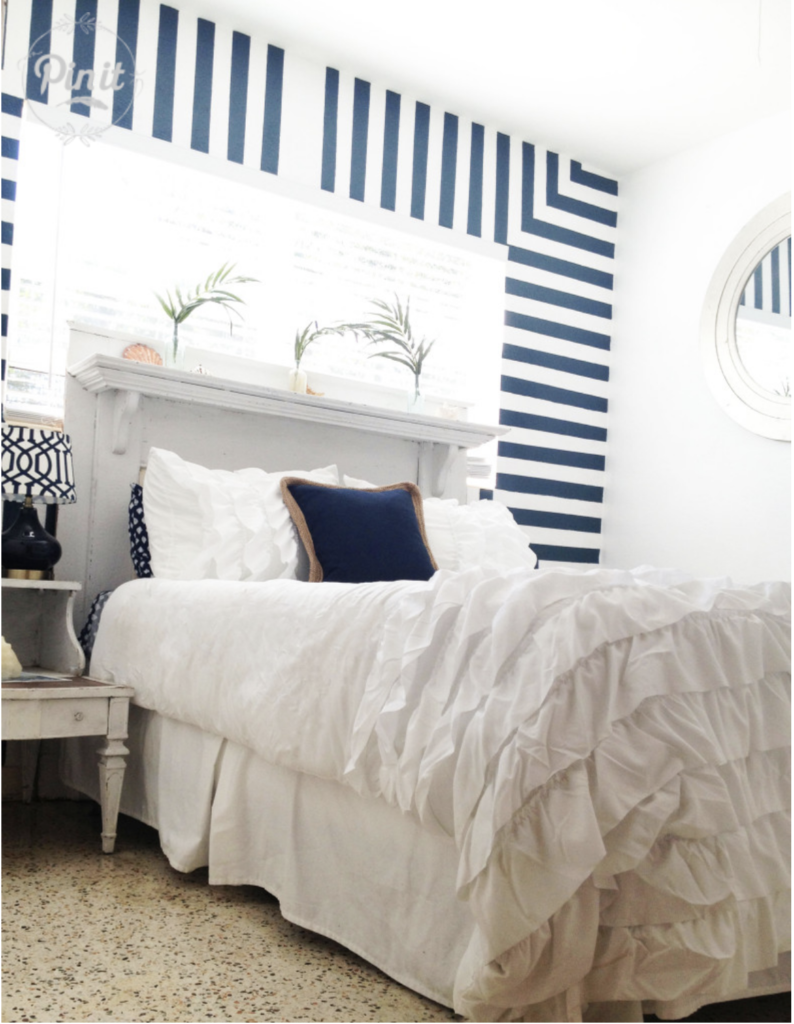
Below is in a image of the mirror from when the bedroom was used as our guest bedroom (you can check that out in a previous blog which I’ll ink to after the ORC) It is pretty large and I love how it capture the natural light in the room.
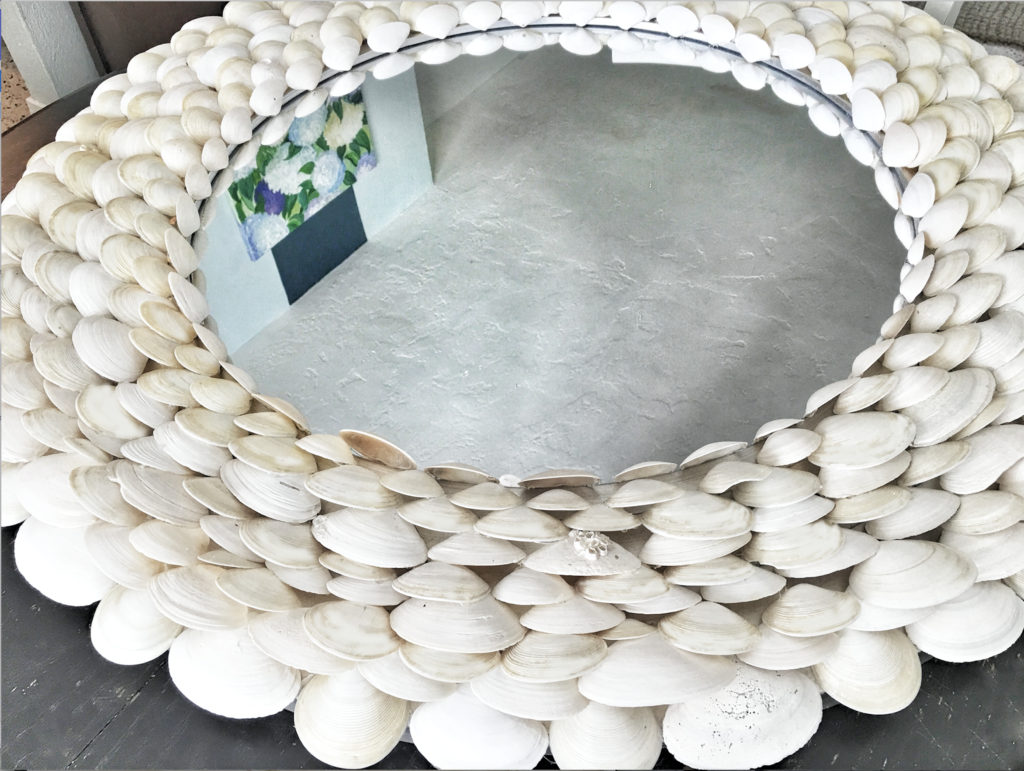
I wanted to create a shell mirror, but knew I had to find a lot of one particular shell, OR make sure they belonged to the same color family. For some reason, I’m not a huge fan of the shell pieces that used a bunch of different color shells. I feel it looks a little dated. So I went with two shell types, that are easy to find and in the same color family. My daughter and I gathered hundreds of shells, after a few trips to the beach, cleaning, and drying, I finally began the process of laying them out into a pattern.
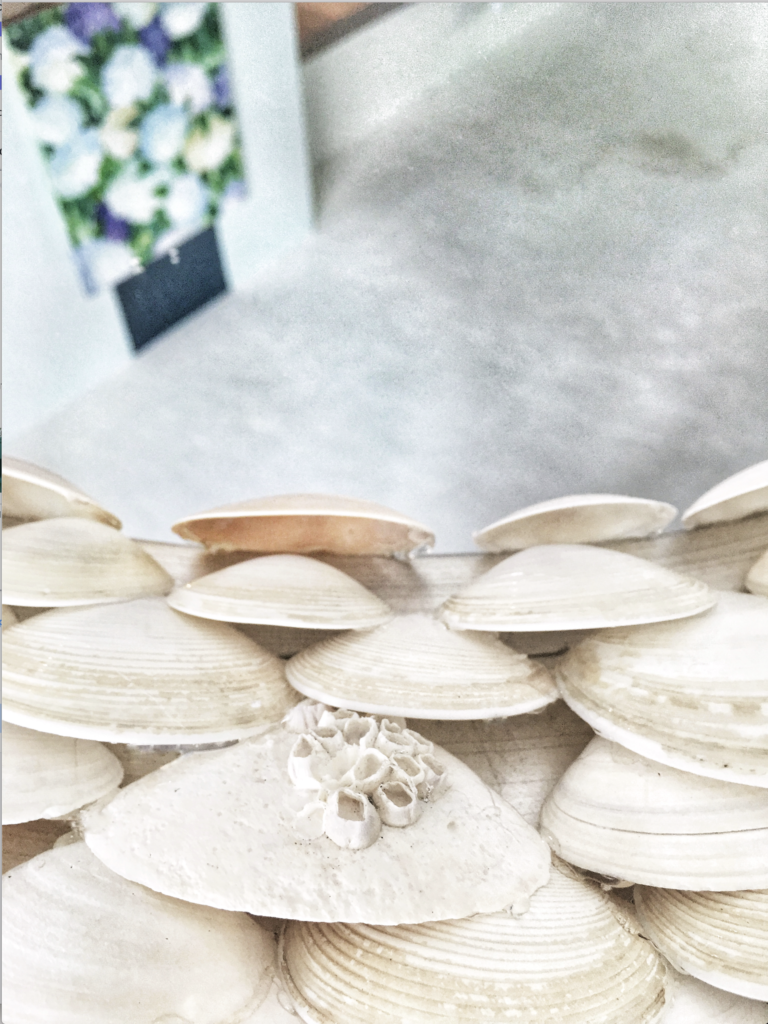
I love the unique differences in the shells too. I wasn’t going to take any character away by getting rid of these barnacles.
after…
After lots of glue and some broken shells later, I can’t tell you how much I LOVE this mirror! I was sourcing some similar ones online and there was no way I was going to spend hundreds of dollars on one. This one ended up costing me about $4.00 – and that was for the glue! It’s actually not that heavy so it shouldn’t be too hard to hang up! I cannot wait to see everything come together!
This week I’m going to begin the wall mural, I’m hopeful it won’t take me more than a few days -but you never know! I’m also going to finally decide on her daybed. To paint or not to paint…that is the question!
I hope you love
Don’t forget to follow along with me on Instagram, and check out my stories today to see exactly how I created the mirror!
Have a great week!

17 Comments on Beach-Chic Bedroom-ORC-Week 3!
Leave a Reply
You must be logged in to post a comment.
stromectol medicine https://ivermectin.webbfenix.com/
vidalista 10mg without doctor prescription https://vidalista.mlsmalta.com/
walgreens price for generic clomid https://salemeds24.wixsite.com/clomid
how careprost works in men https://carepro1st.com/
hydroxychloroquine works cnn https://hydroxychloroquine.webbfenix.com/
That color is so pretty! Love the detail on the legs.
Wow, you have skills!! I am so impressed.
Thank you so much! Can’t wait to check out your space!
Whoa! What a huge transformation in those nightstands! I love the color you chose – so fun!
I know right! It’s a bold color but it’s going to look great in the room!
Great DIY project!! Gonna really refresh the room!
Thanks! I hope so!